Launch the Container
- Download and install Docker Desktop
- Pull the image nitrokey/nethsm
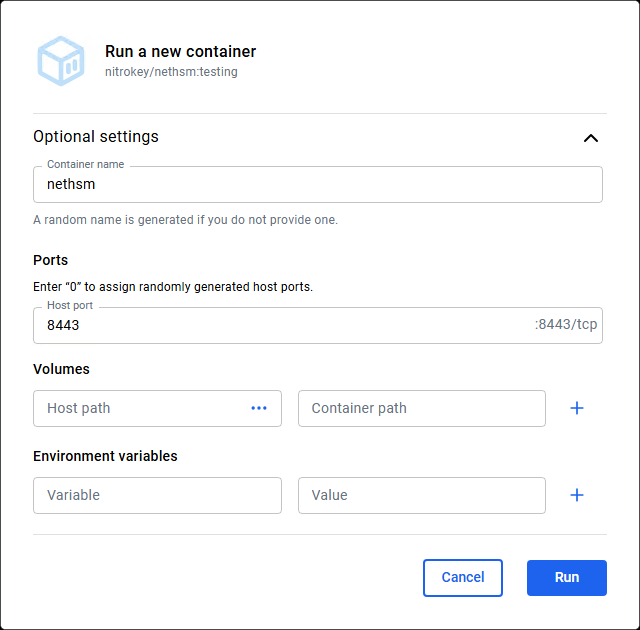
- Set a Host port and Run the container
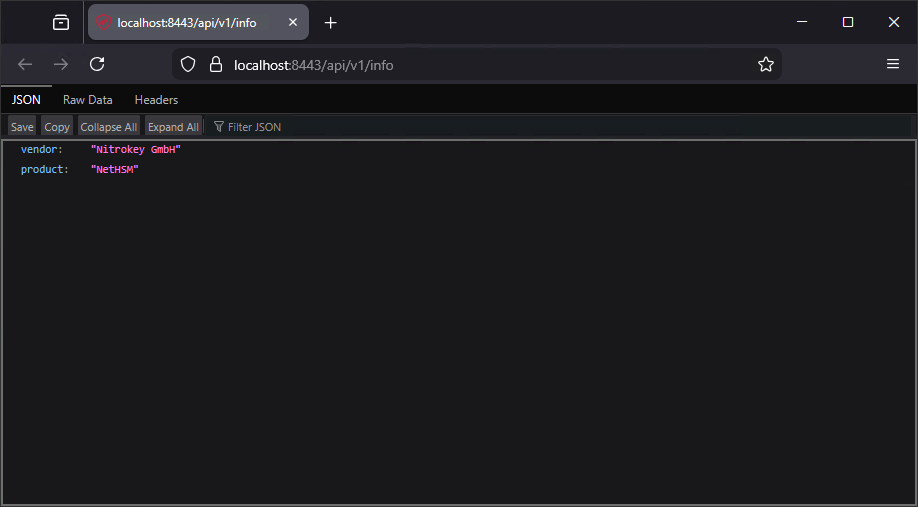
- Check if it works by visiting localhost:8443/api/v1/info
Configuration

The NetHSM is by (factory) default in the Unprovisioned state and must first be provisioned with passwords and the current time. After that it can be used in Attended Boot mode and Unattended Boot mode. Attended Boot mode is the default mode for a freshly provisioned system. In this mode an Unlock Passphrase needs to be entered during each start. On top of all that, the HSM comes with a very questionable certificate, so a new TLS Server certificate needs to be issued for it. Following the official documentation, the next steps can be done using the nitropy tool or via the REST API. So let’s try that nitropy.
nitropy
- Download and install nitropy (nitropy-windows-installer.msi)
- Check the installation with the following command
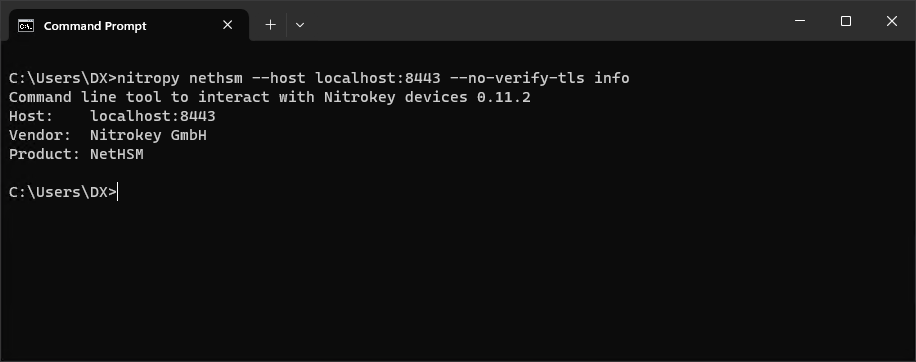
nitropy nethsm --host localhost:8443 --no-verify-tls infoThe output should look like this
- To get rid of the
--hostargument set an NETHSM_HOST environment variable
SETX /M NETHSM_HOST "localhost:8443"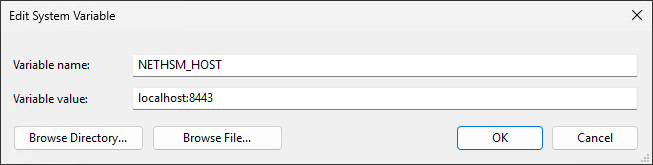
Provisioning
- Make sure the HSM state is Unprovisioned
nitropy nethsm --no-verify-tls state- Initial provisioning
nitropy nethsm --no-verify-tls provisionEnter new Unlock passphrase and Admin passphrase, the length must be greater or equal to 10 (eg Foooo12345). The unlock passphrase is used to unlock the HSM (put it into the operational state). And the admin passphrase is the new password for the admin user. So from now on, if a login is requested, use:
[auth] Username: admin
[auth] Password: (Admin passphrase)- Make sure the HSM state is Operational
nitropy nethsm --no-verify-tls state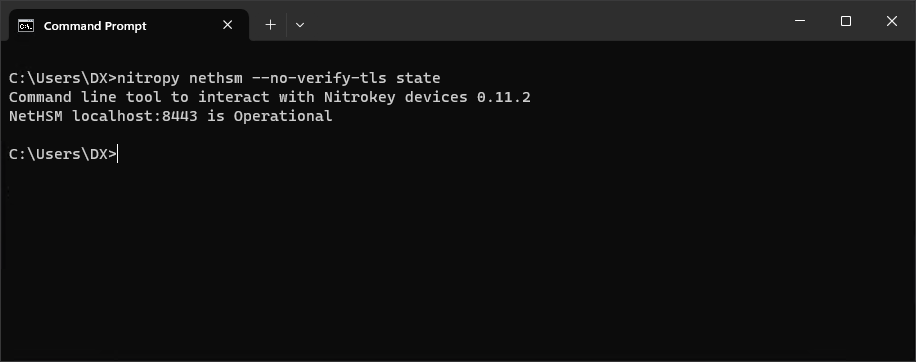
- If it is in Locked state, unlock it
nitropy nethsm --no-verify-tls unlock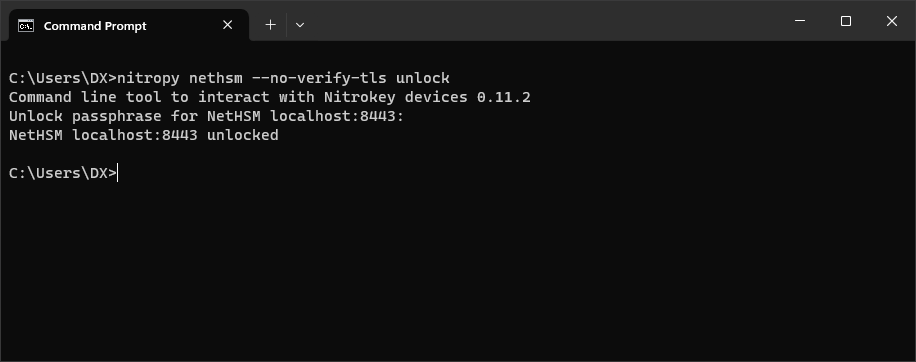
Unattended Boot
- Enable Unattended Boot
nitropy nethsm --no-verify-tls set-unattended-boot onCheck
nitropy nethsm --no-verify-tls get-config --unattended-boot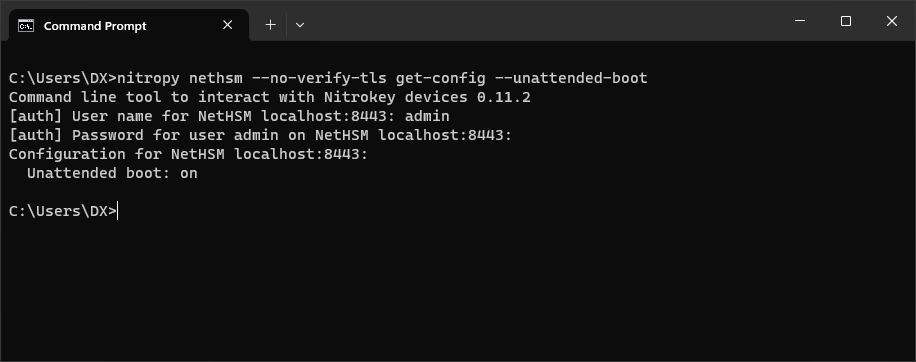
TLS Certificate
- Generate a new TLS Key
nitropy nethsm --no-verify-tls generate-tls-key -t RSA -l 2048Other key types [-t, --type]: RSACurve25519, EC_P256, EC_P384, EC_P521, BrainpoolP256, BrainpoolP384, BrainpoolP512
- Generate a CSR
nitropy nethsm --no-verify-tls csr --api --country="BA" --state-or-province="" --locality="" --organization="DX" --organizational-unit="" --common-name="Nitrokey" --email-address="info@dragan.ba"- Sign the CSR with your TLS CA (generate a new TLS Server Certificate for the HSM)
If this is not possible (due to lack of knowledge or resources), skip the part about TLS and know that you are doomed to always use
--no-verify-tls.
- Replace the HSM Certificate
nitropy nethsm --no-verify-tls set-certificate --api C:\Users\DX\Downloads\Nitrokey.pem- Replace
C:\Program Files\Nitrokey\Nitropy_internal\certifi\cacert.pemwith your TLS CA Certificate
From now on --no-verify-tls can be omitted in nitropy
User Management and Roles
- Add an Operator
nitropy nethsm add-user --real-name "Dragan Milanovic" --role Operator --passphrase Foooo12345 --user-id operatorFrom now on you can use
[auth] Username: operator
[auth] Password: Foooo1234- Add an Backup user
nitropy nethsm add-user --real-name "Beck Upovic" --role Backup --passphrase Foooo12345 --user-id backupDelete user (if necessary)
nitropy nethsm delete-user (user-id)User overview
nitropy nethsm list-users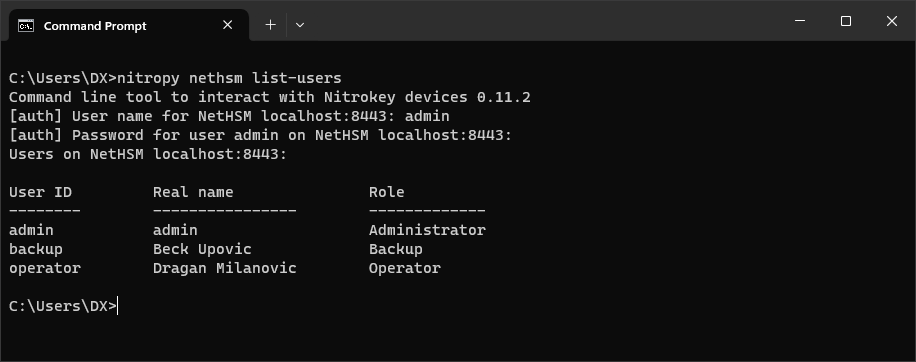
More info: docs.nitrokey.com/nethsm/administration
Backup/Restore
- Set a Backup Passphrase
nitropy nethsm -u admin set-backup-passphrase- Create a Backup file
The backup operation requires the role Backup
nitropy nethsm backup D:\BACKUP\nethsm-2025-12- Restore from a Backup file
The restore operation requires the role Administrator
nitropy nethsm restore D:\BACKUP\nethsm-2025-12Usage

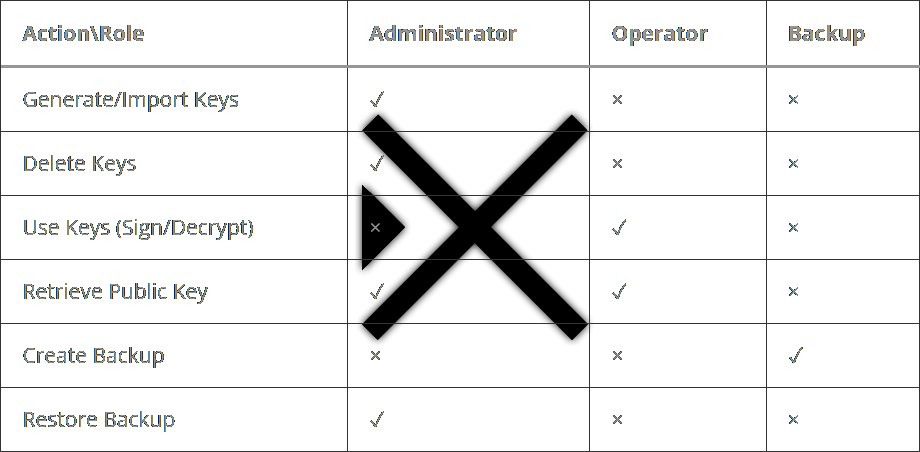
Although these are usage operations, an Operator role cannot generate a key. Only the Administrator role has the authority to generate or import keys. This separation of duties prevents a single user from both creating the security infrastructure (Administrator) and performing the cryptographic operations (Operator).
nitropy
- Generate RSA key
nitropy nethsm generate-key ^
   --type RSA ^
   --mechanism RSA_Signature_PSS_SHA256 ^
   --mechanism RSA_Decryption_PKCS1 ^
   --length 2048 ^
   --key-id rsaKey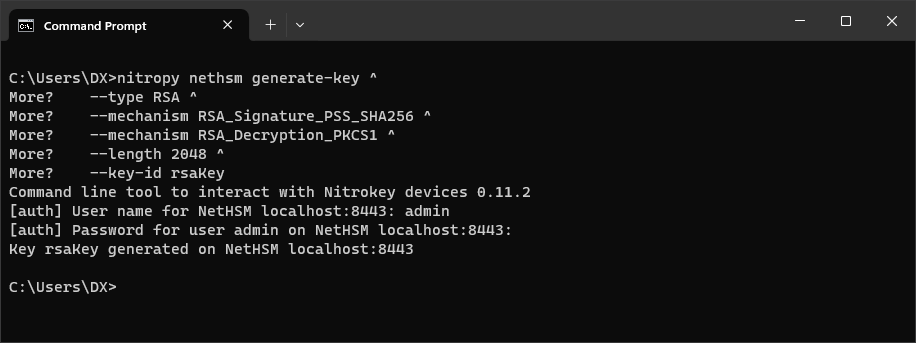
- Generate EC key
nitropy nethsm generate-key ^
   --type EC_P256 ^
   --mechanism ECDSA_Signature ^
   --length 256 ^
   --key-id ecNistKey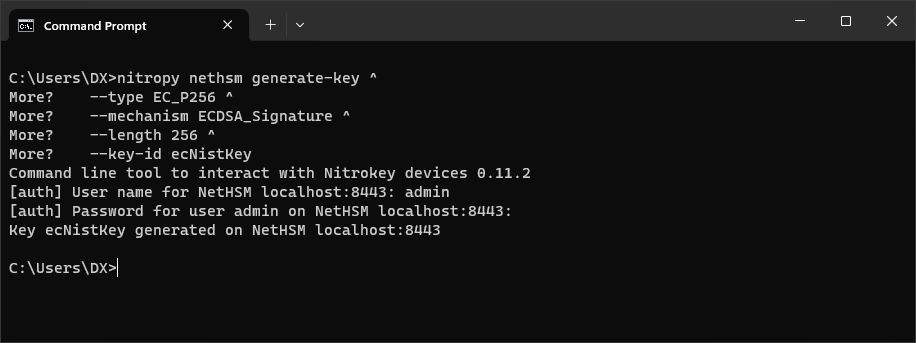
More key types can be found here: docs.nitrokey.com/nethsm/operation#key-types-and-mechanisms
Delete a key
nitropy nethsm delete-key testKey- List all keys
nitropy nethsm list-keys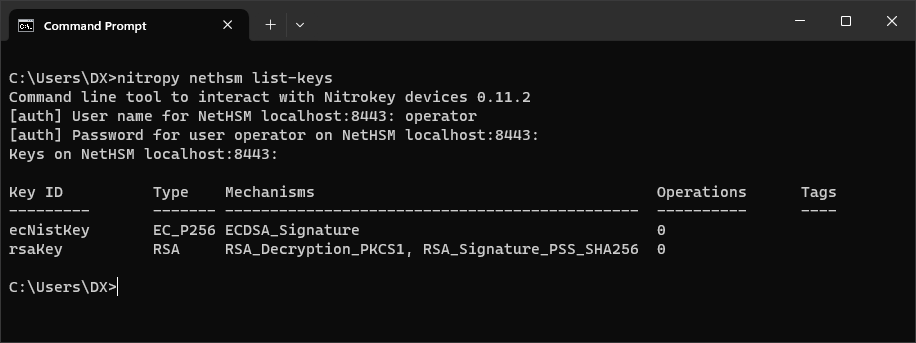
- Get specific details for the key
nitropy nethsm get-key ecNistKey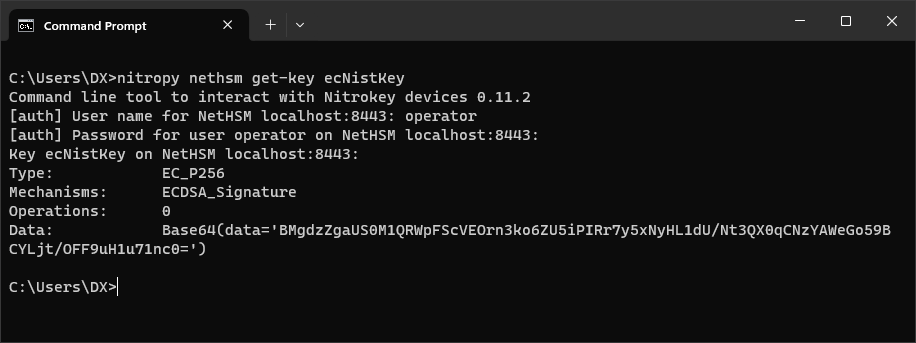
- Retrieve the public key (PKCS#8 format)
nitropy nethsm get-key rsaKey --public-key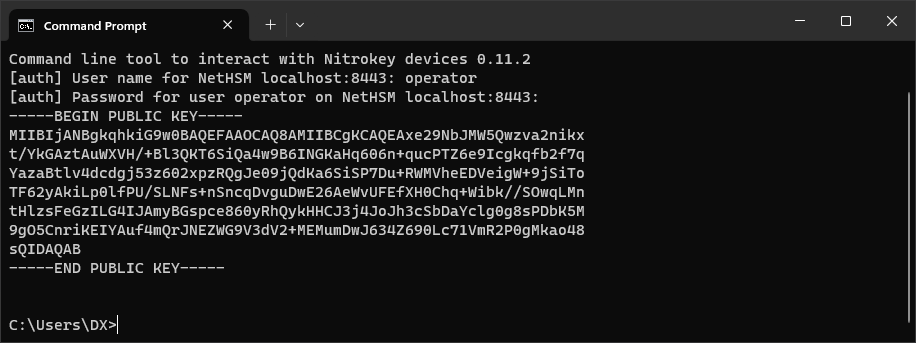
Operations like Key Certificates, Key Operations and Random bytes generation, makes no sense to perform via command line tools like nitropy. Therefore, let’s move on to the REST API.
REST API
//TODOPKCS#11
- Download the nethsm-pkcs11-windows.dll
- Create a (yaml-formatted) p11nethsm.conf file
slots:
  - label: "NetHSM"
    operator:
      username: "operator"
      password: "Foooo12345"
    instances:
      - url: "https://localhost:8443/api/v1"
YAML-formatted means key and value are separated by a colon : and a space, list element starts with – followed by a space and spaces only, no tabs!
The most common mistake here is the automatic addition of tabs by Notepad++
I put both in D:\NetHSM\
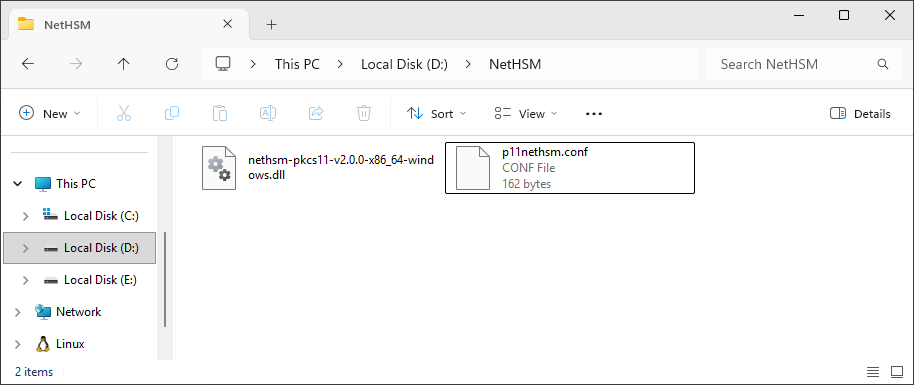
- Set an P11NETHSM_CONFIG_FILE environment variable to point to the configuration file
SETX /M P11NETHSM_CONFIG_FILE "D:\NetHSM\p11nethsm.conf"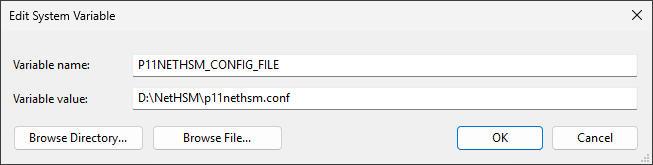
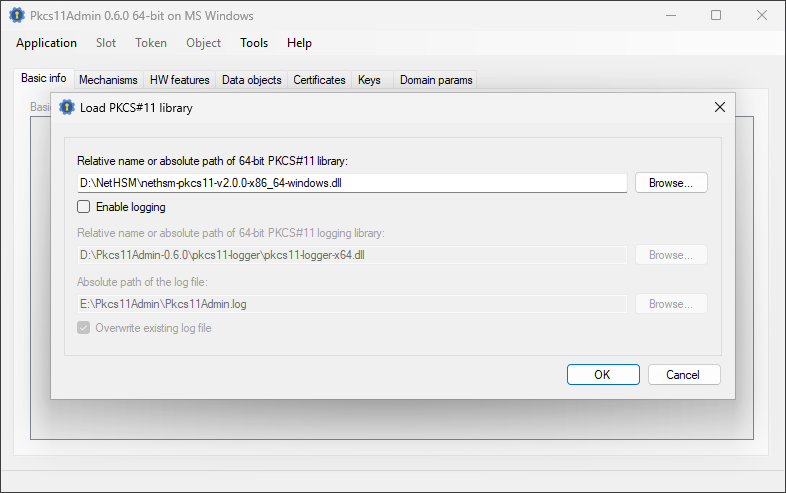
- With
nethsm-pkcs11-v2.0.0-x86_64-windows.dllaccess the HSM using a tool like Pkcs11Admin, EJBCA or your application.
More info: docs.nitrokey.com/nethsm/pkcs11-setup
Demo Server
But, will be reset every eight hours (CET 6:00, 14:00, 22:00).
https://nethsmdemo.nitrokey.com/api/v1/info
[auth] Unlock passphrase: unlockunlock[auth] Username: admin
[auth] Password: adminadmin